Your cutting board sees a ton of action – from dicing onions to mincing garlic, that trusty slab of wood takes a beating every time you cook. But treat it right and it’ll keep on chopping for ages. Most folks don’t realise cutting boards need regular TLC to stay fresh and this guide breaks down the best ways to clean wood cutting boards so they last longer.
It’s also worth mentioning that wood is the best material for a cutting board. For one, wood’s softer than something like glass or ceramic, so it keeps your knives sharp longer instead of ruining the blades. Plus studies found wood actually kills bacteria naturally, making your food safer than messing with plastic. Can’t forget they look pretty nice too – a handsome wood board can serve double duty as a platter once the chopping’s done.
Why Cutting Board Care is Important
Cutting boards touch all kinds of stuff that we eat – fruits, vegetables, herbs, you name it. Without taking good care of them they become nasty germ hives, soak up smells from onions and garlic and even start warping or cracking apart. But caring for cutting boards isn’t hard if you follow some basic tips. Keep your board bacteria-free, good-smelling and looking great to use for ages with just a tiny bit of work.
Daily Cleaning: Keeping Your Board Safe and Fresh
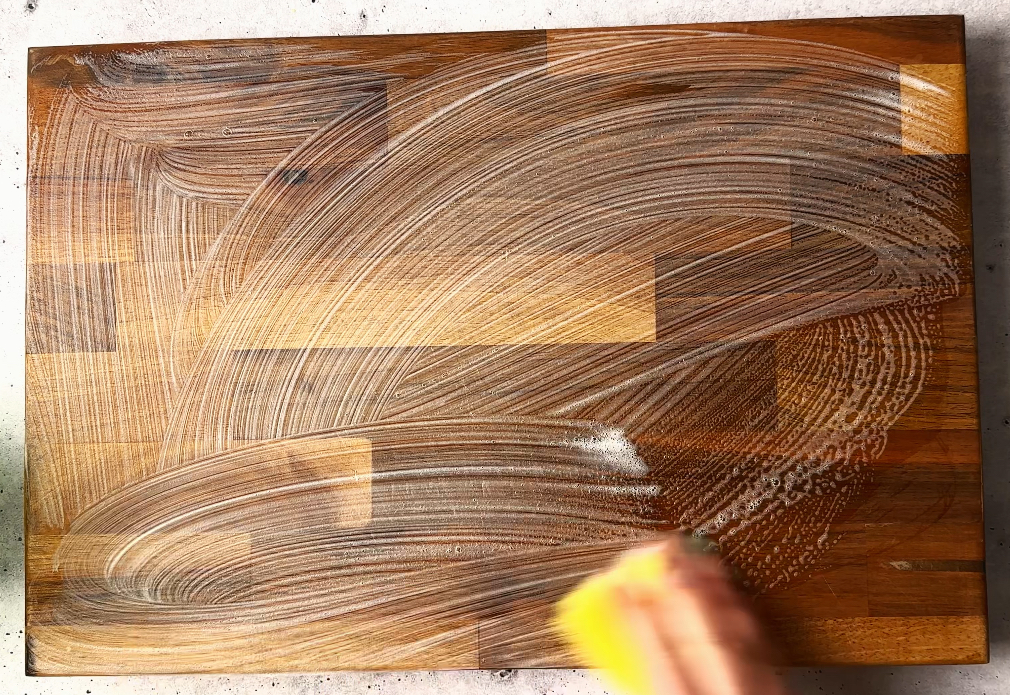
After each use, it’s a good idea to clean your cutting board so you don’t end up with stains, funky smells or bacteria taking up residence.
You’ll need to:
- Rinse food debris: give it a quick rinse under warm water right away to get any food bits off.
- Mild Dish Soap: add a tiny bit of mild dish soap to a sponge or brush and gently scrub the surface – nothing too harsh that could damage the wood.
- Rinse and Dry: rinse very thoroughly to make sure all soap is gone. Dry it immediately with a clean towel, patting gently. Let it finish air drying standing up or laying on a rack so air can circulate properly. You can also just let it air dry only, immediately after rinsing.
Pro tip: Don’t ever soak that wooden board or put in the dishwasher! Too much moisture can make the wood warp crack open or split apart.
Deep Cleaning: Get Rid of Stains and Odours
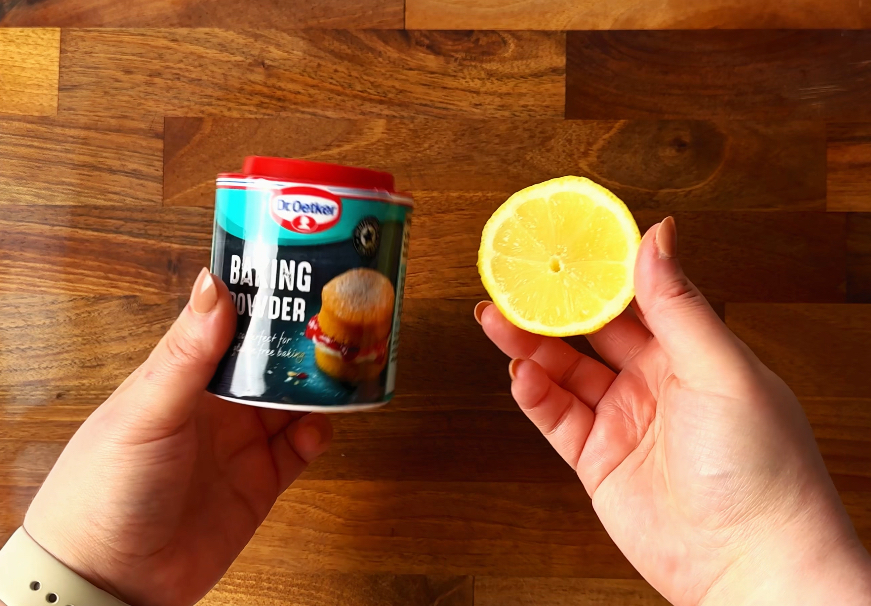
Wood cutting boards can really soak in smells and stains even if you clean them regularly, especially when you’re chopping stuff like garlic or onions that smells strong. Here’s a couple home remedies to deep clean it:
Lemon and Salt Scrub (or Baking Soda):
- First, sprinkle some coarse salt (or baking soda), like kosher salt so it covers the whole surface and then take half a lemon and scrub it all over the board so the juice gets worked in. The acid in the lemon helps cut grease and odour, while the salt or baking soda scrubs up stains. Rinse it off real well under warm water, and dry it right away.
Baking Soda Paste:
- Make a thick paste of baking soda and water and smear it on with a soft brush. The baking soda will bubble up and lift out gunk. Rinse very thoroughly, because you don’t want to be eating this stuff, and dry immediately.
There you have it – two cheap natural ways to deep clean and de-stink your wood cutting board using things you probably already have at home. Just don’t forget that last crucial step to dry it completely so the wood doesn’t warp or crack. It’s smart to do a super deep scrub like this once a month or whenever it start to smells funny or starts looking gross with stains.
Oiling Your Wooden Cutting Board: The Key to Long Life
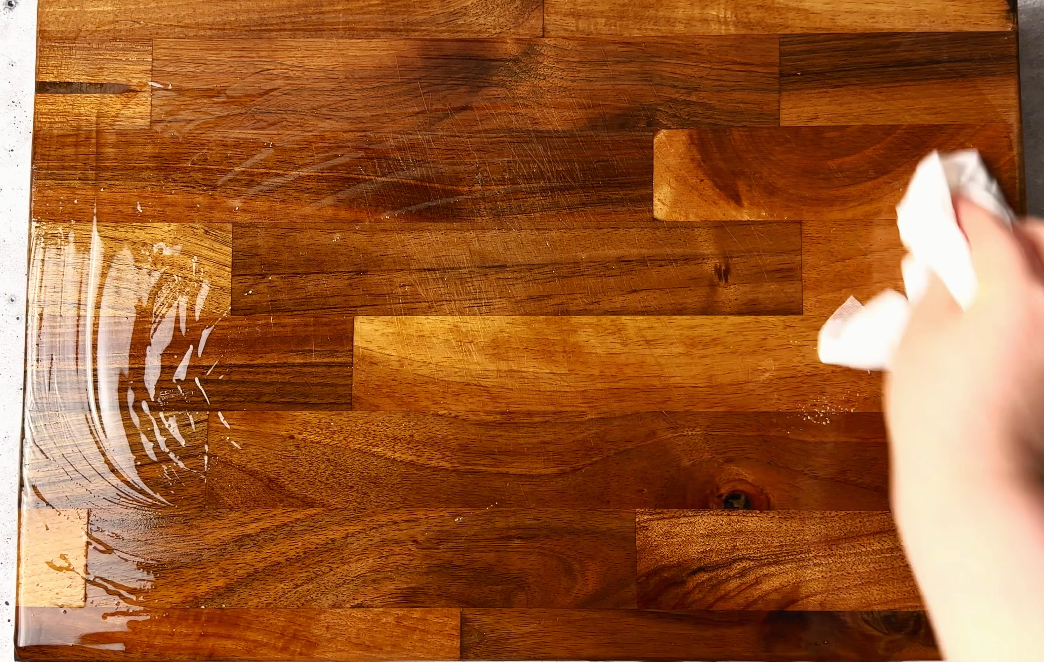
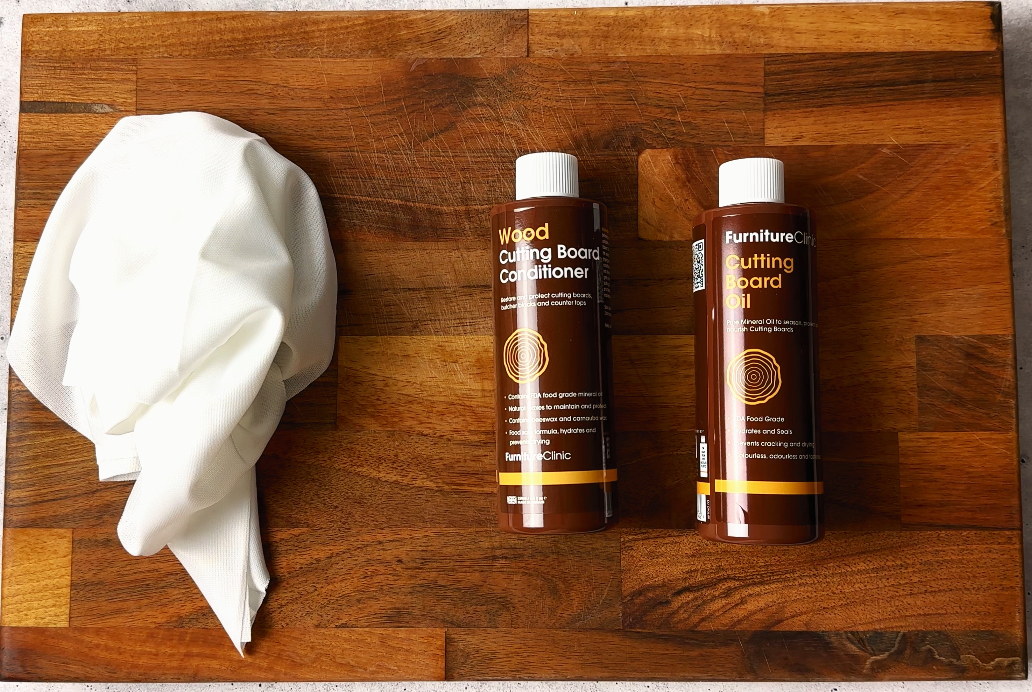
It is crucial to oil your wooden cutting board to maintain it. This oil keeps the wood from drying out, cracking or warping over time. So when its time to oil your board, you want food grade mineral oil because it is non-toxic, virtually has no odour and will never go rancid — avoid the olive or vegetable oil that is sitting in your cupboard — those can turn bad and create a gooey mess. You can also buy cutting board oil like I used in my video, from amazon.
Before oiling you gotta make sure your board is squeaky clean and bone dry first. Then pour a little puddle of mineral oil on and rub it all over with a lint free cloth or paper towels—get the oil into all the nooks and crannies, even the sides and edges. After that, let the board just chill overnight so the oil really soaks in deep. And that’s it! Your cutting board is ready for chopping and slicing again.
I’d say oil your board at least once a month or whenever you notice it’s looking kinda dry and thirsty for more. This routine will keep your wooden cutting board in tip-top shape for a good long time!
Conditioning Your Wooden Cutting Board: The Extra Layer of Protection
Beeswax conditioners are an excellent way to give your boards some extra protection. When you rub a thin layer of this natural wax into the wood and buff it out, it leaves behind a subtle sheen and a light citrusy scent. It feels smooth to the touch when it dries, sealing the grain to keep out minor spills and scuffs. The wax fills in any knife marks and scratches, making the surface look fresh and new again. It also gives the boards a nice glow under the kitchen lights and applying it is super simple – just wipe on a small amount with a clean lint free cloth, let it soak in for about 20 minutes or even longer, then lightly buff it out. Avoid using too much wax at once since that can leave visible residue behind. Done right, it’s nearly invisible but makes a world of difference in protecting wood over time.
Repeat this step once a month after you’ve completed the oiling process.
Avoid These Common Cutting Board Mistakes
Here’s some advice to keep your wooden cutting board looking its best for years to come:
- Steer Clear of Bleach or other tough chemicals that can strip the natural oils right out of the wood over time. That’ll just cause drying and splits. Gently wash by hand instead with some mild soap and water.
- Keep It Away from Heat: don’t let your board sit right out under strong sunlight or bake in a hot dishwasher and the heat could warp the shape or make cracks show up before their time. I just let mine air dry on the counter.
- Stick to One Side: try using one side for all your chopping and slicing. Save the other for setting out cheeses or fruits once everything’s prepped. That balances out the wear so no single spot gets too roughed up. following those tips helps everything last much longer.
When to Replace Your Wooden Cutting Board
Wood cutting boards are kitchen staples, but they do eventually wear out. How can you tell when it’s time to toss the old one and get a new board? Some red flags include:
- Deep gashes where your knife has sliced into the wood over time. Bacteria and bits of food can hide in those grooves, making the board impossible to truly get clean. Yuck! Cracked or split boards are also problematic because they make it easy for bacteria to set up shop inside the cracks.
- If you’ve scrubbed a cutting board repeatedly but stains and funky odours still linger, that’s another sign to retire it. At some point the wood just gets too saturated and you cant salvage it and while I’m sad to see my old warped cutting board go, it’s served me well over the years. But once bacteria start creeping in, it’s time to play it safe and get a fresh board.
Final Thoughts
Taking care of a wooden cutting board does need some work, but doing it right keeps it going a long time and makes sure your kitchen stays clean too. You gotta wash it, oil it regularly, and just pay attention to it. You can have your board for years if you stay on top of that stuff and it’s easy once you get the habit.
Maybe you have some good ways to keep a board in shape? Put them in the comments if you do! Those kind of tips can really help people out.
If you’re more of a visual learner watch my video about how to care for your board below:
